Pages

Showing posts with label DYI. Show all posts

Monday, November 25, 2013

Chalk Board Wall

Finally something big happened in the kitchen! We painted a GIANT chalk board wall. I've got pretty big plans for the kitchen and having something chalkboard was on that list. I originally thought a chalkboard refrigerator (see this for inspiration) would be ballin' but after realizing the fridge we inherited with the house needed to go we decided stainless steel was best for  home resale and function. Whew-whew.
So plan-b was put into action:


So this is what we started with. Kilzed empty blank bleh wall. 


The tools. I wanted to use the magnetic primer so the whole wall would be one big awesome functioning board. The magnetic paint ended up being quite the battle.  All the metal particles were in the bottom of the can which I did not realize until getting to the end of my first can and discovering a metal sludge. Woops. So one more can and 6 total coats of primer later.... it still doesn't work that great. It's magnetic but not enough to hold up anything. Also it made a HUGE mess and make the surface very bumpy. So I wouldn't recommend the primer. Save yourself the time.  


Yes, I paint in my football pants. Don't judge. 


The color of the chalk board paint. I was so afraid I had gotten blue. Luckily it dried nice and black like I wanted. 


What coat one of the magnetic primer looked like going on. I had such high hopes...


And the whole wall in all it's primer glory. Notice the blue tape and green countertop lip in the lower left corner. 


As I painted I started to think about that lip. It won't be there forever. Eventually we want to replace the countertops and add a subway tile backslpash. So I had 2 options. Leave it and have the hassle of fixing it and repainting that side and hoping it looked even down the road. Or take care of it now. Guess which one I chose. 


It was surprisingly easy to remove. I didn't even wake MLW up. However it did leave behind some nasty looking glue and an uneven surface. 


So out came the spackle and the sandpaper. 


Nice and even and pretty! No hassle down the road! A DYI win! 


The hardest part about the whole process was waiting the 3 days for the chalk paint to cure. Luckily it was over the weekend MLW and I were in Asheville so I didn't have to look at it for 3 days! 


After 3 days you have to set the paint by covering the whole surface in chalk. This makes it easier to erase down the line. 


It actually looked pretty cool all done, but it was dusty. Chalk dust particles were a flyin'! 


Look how messy my patched corner looks! I'm totally glad we did this before the new countertops.  Trying to keep the countertops clean and pretty during this whole process would have way upped the difficulty level.


I then took a rag and just erased all the chalk lines. Starting to look like a black board. That haze in the air is all the chalk particles. 


Dusty!


Dusty and gross. The magnetic primer made a huge mess. 


Viola! Add a fall garland that I rescued from a wedding. ( I can't stand to see good flowers go in the trash, especially if I have a hunch they will dry pretty) Also it still super hazy. It probably took a good 24 for all the dust to settle so I could clean it up. 


And the whole wall! The best part is waking up to sweet messages from my husband. Stay tuned for a tutorial on how to do chalk board art, because you know I didn't freehand that quote on the right! 

Friday, October 18, 2013

Grandma's Wallpaper

If you have been reading along with this little blog, you will know that I intended to put this wallpaper from Anthropologie in my guest bathroom. Trick was it was little expensive so I wanted to wait for an Anthro Day before pouncing on it. Well Anthro Day happened and this perfectly patterned wallpaper showed up at my house!
And then it sat around for a few weeks. To be honest I was sorta afraid of it. I've never wallpapered and I can't cut straight lines. A few youtube tutorials later and a pep talk from my MIL and I was game.
Then our sewage exploded out of the guest bath tub. Major plumbing fail. Luckily I have some AMAZING neighbors/friends that fixed that right up.
So wallpapering was back on track and of course here are my steps:


First step happened right when we first moved in. Prime those walls to get rid of smokey. Most wallpapers suggest priming before wallpapering anyway to this worked out well. We just had to look at it for about 3 months...


Step 2 was to spackle and smooth any wall imperfections. 


Sometimes a DYI cocktail are in order. I let the spackle dry over night and then sanded everything to a nice smooth surface. I also wiped the walls down with a damp cloth to make sure any dust was gone.


Tools of the trade. Lowe's sells a wallpaper kit with useful tools like a seam roller and smooth edge to get any air bubbles out. Scissors and measuring tape, level, exacto knife and pen rounded out the supplies list. 


The wallpaper came with instructions, but they made no sense to me until I watched the videos on youtube. I'm a visual learner. So anyway, first you measure the width of your paper. 


Next select your first corner and measure 1-2 inches shorter than the paper and mark it. This is because you want your paper to wrap around the corner. Seams in corner= bad. 


Take your level and trace a plum line with the mark you just made. Make sure everything is nice and straight. 


Plum line. Thank goodness for levels because straight lines really aren't my thing. 


Next measure the length of the wall you are going to paper. 


And measure your paper, adding about 4 inches for overhang on the top of the wall and the bottom. Then take your scissors and cut it! Its a good idea to have two strips of paper cut at one time. That way you can use the previous piece to make sure the lines will match up. You want the patterned to be consistent and sometimes you have to cut your piece a little shorter or longer to make that happen. 


Roll your paper up, back side out. I filled the bathtub up with warm water as suggested by the directions the paper came with. Then I submerged the paper for 30 seconds to activate the paste. I was lucky as this wallpaper came pre-pasted, but I would imagine this is where you would slap some paste on the back of it? Who knows. 


Take your paper out of the tub. I let mine drip dry a little before moving it up and onto the wall. I left more overhang on the bottom, but gave myself about an inch on the top to clean up with my exacto knife. 


Start smoothing that puppy out! I started at the top and worked my way down and into the corner. Really make sure that corner adheres nice and tight. I had paste flying as all the excess came out. Then repeat, cutting around outlets and doorways with  the exacto knife. 


Two hours later and the last little piece was all that was left. It is almost more rewarding than painting. Instant pattern! 

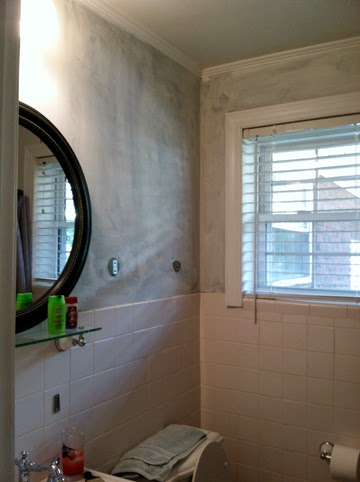
Complete! It is so much fun to walk down our hallway and see this pop of pattern. I still have to rehang the mirror, light and towel bar, but I'm super pumped to have conquered the paper. MLW and I agree it totally looks like grandma wallpaper, but that really cool grandma who kept only the best vintage stuff laying around. I love it. 

Until next time! 

Friday, October 4, 2013

The Den

When MLW and I first bought this house, I assumed the man room would be in fact the man room. No girls allowed and all that. MLW had a guest room all to himself in the rental and I pretty much never went in there. It was a "close the door when guest come over and pretend it doesn't exist" room. But, this house has been way diffrent. I'm in this room all.the.time. I think part of it has do to with that is where I feed the dogs and let them out in the morning and the other is that it is the farthest away from our bedroom. MLW works until 4 or 5 in the morning so when I get up he is snoozing away. The farther I can be from him but still watch the Today show is a good thing.
I had been trying to be nice and neutral in the design of this room as well, but last weeks dyi gold curtains pushed me over the edge. I'm officially hanging out in this room. Thus it is no longer the man cave, but the den. Boom.
As promised, I've got another ikea hack and just a general room update. So here goes...


I bought 2 of the Ikea vittsjo shelving units and tv stand to match a few weeks back. I had visions of a navy book shelf to pick up on the navy in the kantha throw on the couch with  gold shelves. The first box we sprayed by doing each piece individually, but learned it was actually much easier to spray the shelfs once they had been assembled. 


Good navy spray paint is shockingly hard to find. I wanted a very deep rich navy and all the classic brands had too much cobalt in them. I ended up finding this paint at Michaels's in "Prussian Blue". It is a little pricey but the color is rich and perfect. It also went on really smooth, was less smelly and only needed one coat. So maybe things evened out in the end? 
                                               

A close up of the top, to show the color. The perfect navy spray paint. 


And shelf one! I ended up not spray painting the bottom "wood" peice. I'm afraid I might have to rename this blog "So I spray painted *blank* gold." But it could still happen. My lovely in-laws are coming down this weekend and I was pumped to style these babies. 


Shelf two.  


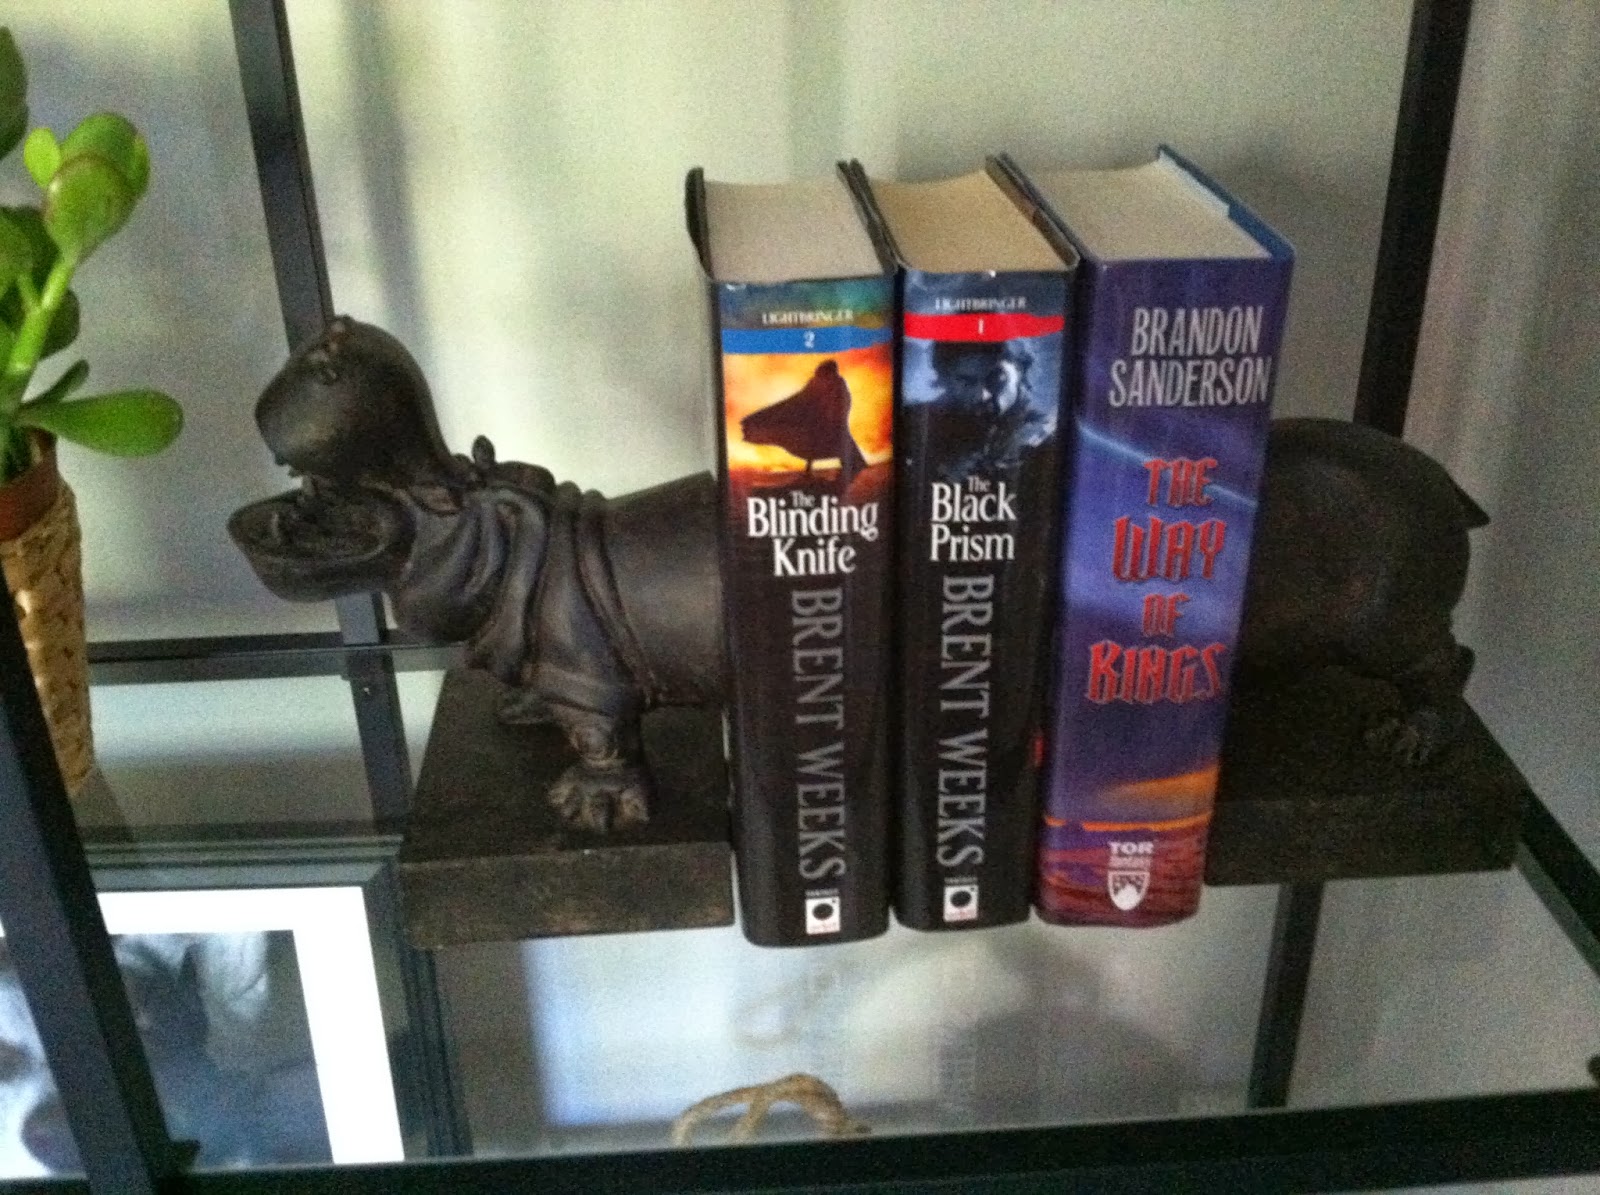
If you have read this little blog since the begging you know how much I loved these ModCloth bookends. Welp they showed up from MLW's sweet grandma as a house warming gift. They are hilarious. 


Of course there are a couple style tweaks I'm sure I'll be making but I'm pretty happy overall. MLW is happy because all his favorite books are on the shelf. Compromise baby. 


View from the couch. The navy is ready more dark grey in photos, but in person it has so much more depth. 


Ekk! Looks like a real room! 


I know ya'll have seen a preview of the couch, but here she is up close. So comphy and another Ikea steal. The chaise lounge is my favorite spot in the house.


Close up of the kantha throw. Right now I've got black pillows on the couch with the touches of navy in the throw. Normally I say black and navy are a no-no, but so far this isn't offending me. It's always a work in process though. 


Speaking of work in progress, this is the other side of the den. Its  the hot mess express. Eventually we want to create a more organized work out area/ dog wangling place. One far far (emphasis on far) away day it might even be a play room. 


And MLW's desk. I found a better desk chair on Craigslist and it is riding around in my car until I can get to the fabric store. 


But lets end a good note. Ahh so calm and cozy. Hope everyone has a fantastic weekend! 

Monday, September 30, 2013

X Bench Redo

I've got another DYI for ya'll. This time we moved it into the master bed room. Our master is huuuuge, and our queen size bed looked like it was floating in the middle of the room. I've been obsessed with a good x-bench for a long time and figured that a pair would be perfect at the foot of the bed. But once again, the benches I loved came at a hefty price. Then I found this on SMP living. How perfect! I checked stock at my local Target and they had two, so first thing the next day I went and swooped them up. One was a little janky so I asked the cashier for a discount and *poof* 15% off.
They have been sitting around patiently waiting for their turn in the dyi circuit and last night I decided it was time.


So here are the benches in all their pleather glory. But, at about $80 bucks each, they were way less expensive than any other x bench option I could find.


The tools of the trade. I'm all about a no-sew project. I can't cut a straight line to save my life, so the batting was there to help me clean up my edges. 


SMP has a great tutorial on their page, but I wanted to prove that even us average girls can conquer this project. The first step was to remove the screws that attached the seat to the "x" part of the bench. 


Ernie, thought this part was really cool. 


Like the SMP redo, I wanted to add more height to the original bench seat. I got a 2 inch foam at Hancock's Fabric and traced around it with an exacto knife. I got really lucky as only one side of the foam needed a trim. 


Ernie helped me by removing the excess. 


And proceeded to tear it into shreds while Maybe watched.


I next sprayed a good coat of spray adhesive onto the foam. Definitely take this step outside as the surrounding area can get very tacky. 


I cut my batting to size and stapled it around the seat making sure the batting was smooth and tight all the way around. 


Flip it over and viola! Starting to look like a fluffier cushion. 


My fabric of choice. Everything in the room is looking a little blue, but we are about to switch over to our white winter bedding and that will break the color up. 


Repeat the stapling step the same as with the batting and there you go! 


Next step was to reattach the x part and things were starting to look good. The SMP called for spray painting the legs, but the jury is still out on that. The legs actually match our closet doors and other furniture pretty darn perfect so I think I will leave them for now. Who knows though. I'm currently having a love affair with gold spray paint so they could head that direction too. 


The finished bench and original side by side. I really like the added height of the seat cushion. Gives the bench a little more umph and weight in such a large room. 
Of course this project was not without its hiccups. I ran out of fabric. Yep, thats right. I got one bench done and realized I didn't have enough to cover all the sides. One emergency phone call to my Mom later though and I think I've secured another yard of fabric. Woo! Project Saved. 
I'm hoping to get both done soon though. MLW and I seem to be doing projects about 60% and then moving on to something else. It is making our house a little bit of a disaster zone, so I'm really looking forward to checking some projects off as 100%. 

Anyone else have a DYI project they only made it halfway through? 

Happy Fall!