Pages

Showing posts with label Den. Show all posts

Tuesday, November 18, 2014

Bears and Adventures in Lucite Framing


I am so so so excited to share this piece of art. I've been wishin' and hoping for it for some time. The Animal Print Shop is basically the jam. The are all over Pinterest all be it mostly in the form of nursery art.

MLW and I have no babies, but we do have a pretty long running joke about bears. Basically I have an irrational fear of bears {Did you see Grizzly Man!?!}, also my spirit animal is a bear. Ironic right? We have a blank wall in the den above the TV = Perfect spot for a print of a bear!


The second part of this story is my desire to frame it up in acrylic like The Hunted Interior. Her step by step made it seem pretty easy. Framing can be pretty darn expensive so I wanted to give this DIY version a go.


Step 1, Acquire acrylic sheets from Lowe's. Lowe's will cut the sheets to whatever size you want fo free. Home Depot will not. I had mine trimmed to 24 x 30. My art is 16x 20.  I think the sheets where about $16 each.


Step 2, Order mounting hardware from this etsy shop. There is other hardware out there for cheaper but it is all stainless and I wanted brass. By this point ya'll should know how I feel about brass. Once you recive hardware, mark acrylic for holes.

Step 3, Animal Print Shop sends their prints with plenty of white space and I need this trimmed down. I was afraid to cut with scissors because I can not cut in a straight line to save my life. I also didn't want to buy a large format paper cutter because those babies are expensive. So I called a few stores to see if they offered paper cutting services. Here is what I learned, Michael's will not cut art at all. How they trim down things for framing I do not know. Office Depot has a large paper cutter you can use fo free or they will cut it for you for like $2. I did it myself but the man working was nice enough to help me. His wife's spirt animal is also a bear.


Step 4, Obtain a nail large enough to make a hole for the bolt to connect the frame to the wall. This turned out to be as little tricky. Only because the good folks at Lowe's couldn't figure out how much one large nail costs. 72¢.


Step 5, Wake up early on your day off and try to heat up said nail over a candle. Unlike other blogs who have attempted this, we don't have a gas range. So my heat sources where limited. After about 5 mins of roasting my nail over my measly candle, I realized that this would not work. {MLW proceeded to laugh at me all day for attempting this. And yes, I realize it is pretty silly, but I had to give it a whirl!}

Step 6, The Hunted Interior mentioned that a drill could also be used to create the necessary hole. Cool, I have a drill! So I attach my largest drill bit a 1/4" and drill away. Poof hole! Then I try to insert the bolt. Hole too small.

Step 7, I call my Dad to see if he has a drill bit large enough. Drive over to Dad's with acrylic sheets in tow.  He ended up having a bit of the right size but I completely cracked one of the sheets in the process. Major bummer.


Step 8, I mention that heating up a nail idea and out pops a propane torch. We heat up a screw safely attached to a pair of pliers so we don't burn our hands. It goes through and is the right size!!


Step 9, Dad sends me home with all the necessary tools and I hit up Lowe's to get a new sheet of acrylic.

*By this point I have been trying to hang up this blasted thing for about 5 hours.* 

Step 10, MLW and I proceed to torch a nail and make 8 holes in the acrylic.


Step 11, I used these awesome sticky strips for scrapbooking to attach the print to the acrylic.


Step 12, Then attach mounting hardware to wall as the instructions describe.

Step 13, Put the bolts through the holes and screw into mounted hardware.


Step 14, Step back and realize you spent an ENTIRE day hanging one photo.


But I really do love it, like big love. Also the bear needs a name. Huge kudos to the Animal Print Shop for the image and The Hunted Interior for the idea. I would also like to thank my hubs for buying the print for my birthday and to my Dad for supplying me with power tools and not laughing at my crazy ideas.

I need a beer.
Love,
Betsy


Friday, October 4, 2013

The Den

When MLW and I first bought this house, I assumed the man room would be in fact the man room. No girls allowed and all that. MLW had a guest room all to himself in the rental and I pretty much never went in there. It was a "close the door when guest come over and pretend it doesn't exist" room. But, this house has been way diffrent. I'm in this room all.the.time. I think part of it has do to with that is where I feed the dogs and let them out in the morning and the other is that it is the farthest away from our bedroom. MLW works until 4 or 5 in the morning so when I get up he is snoozing away. The farther I can be from him but still watch the Today show is a good thing.
I had been trying to be nice and neutral in the design of this room as well, but last weeks dyi gold curtains pushed me over the edge. I'm officially hanging out in this room. Thus it is no longer the man cave, but the den. Boom.
As promised, I've got another ikea hack and just a general room update. So here goes...


I bought 2 of the Ikea vittsjo shelving units and tv stand to match a few weeks back. I had visions of a navy book shelf to pick up on the navy in the kantha throw on the couch with  gold shelves. The first box we sprayed by doing each piece individually, but learned it was actually much easier to spray the shelfs once they had been assembled. 


Good navy spray paint is shockingly hard to find. I wanted a very deep rich navy and all the classic brands had too much cobalt in them. I ended up finding this paint at Michaels's in "Prussian Blue". It is a little pricey but the color is rich and perfect. It also went on really smooth, was less smelly and only needed one coat. So maybe things evened out in the end? 
                                               

A close up of the top, to show the color. The perfect navy spray paint. 


And shelf one! I ended up not spray painting the bottom "wood" peice. I'm afraid I might have to rename this blog "So I spray painted *blank* gold." But it could still happen. My lovely in-laws are coming down this weekend and I was pumped to style these babies. 


Shelf two.  


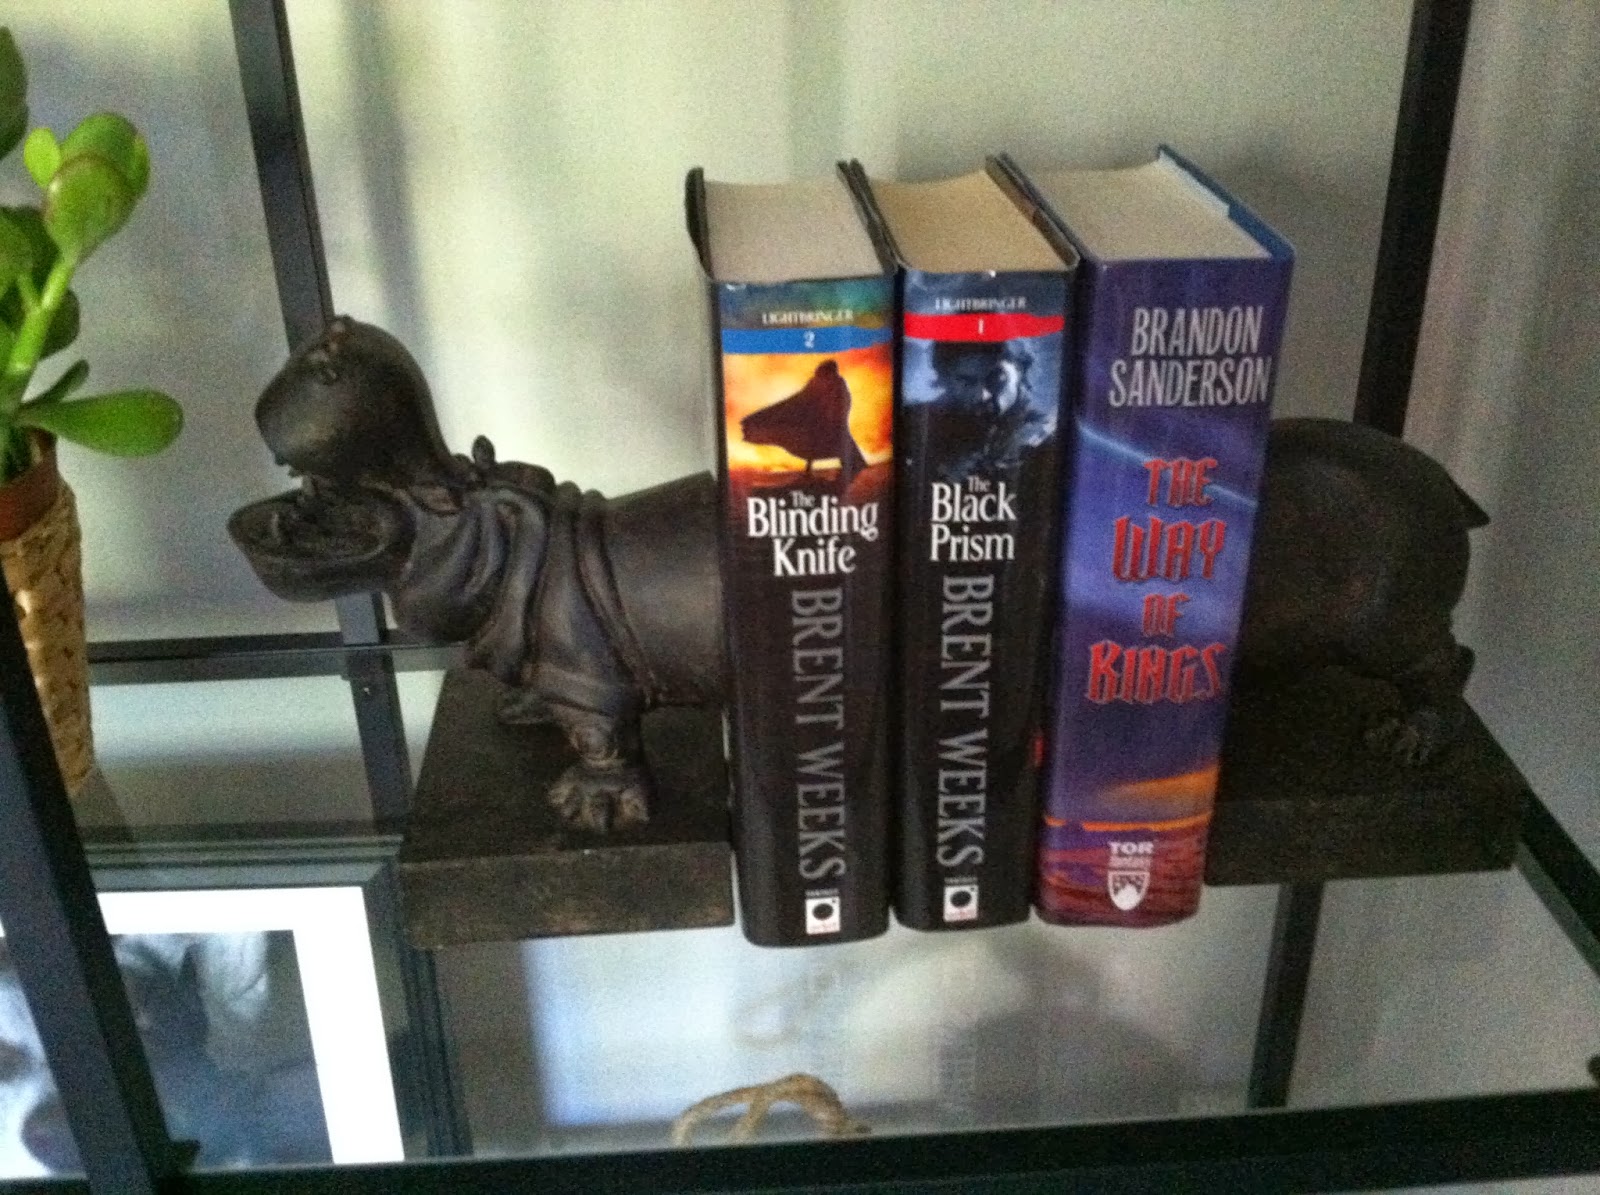
If you have read this little blog since the begging you know how much I loved these ModCloth bookends. Welp they showed up from MLW's sweet grandma as a house warming gift. They are hilarious. 


Of course there are a couple style tweaks I'm sure I'll be making but I'm pretty happy overall. MLW is happy because all his favorite books are on the shelf. Compromise baby. 


View from the couch. The navy is ready more dark grey in photos, but in person it has so much more depth. 


Ekk! Looks like a real room! 


I know ya'll have seen a preview of the couch, but here she is up close. So comphy and another Ikea steal. The chaise lounge is my favorite spot in the house.


Close up of the kantha throw. Right now I've got black pillows on the couch with the touches of navy in the throw. Normally I say black and navy are a no-no, but so far this isn't offending me. It's always a work in process though. 


Speaking of work in progress, this is the other side of the den. Its  the hot mess express. Eventually we want to create a more organized work out area/ dog wangling place. One far far (emphasis on far) away day it might even be a play room. 


And MLW's desk. I found a better desk chair on Craigslist and it is riding around in my car until I can get to the fabric store. 


But lets end a good note. Ahh so calm and cozy. Hope everyone has a fantastic weekend!