Pages

Tuesday, January 6, 2015

Dining Room Reveal

Remember when I made this inspiration board a few months ago? Well, the dining room is about 95% complete and I'm ready to reveal!
I'm not sure I will ever dub it 100% because accessories and art are sure to change over time, but for the most part she is done.


Including the winner of the Dining Room Light Challenge! Thank ya'll again for your thoughts and opinions, you once again pushed me in the right direction. So to be fair, this light isn't exactly one of the original 3. The Anthro light was the winner but when I checked the dimensions of it, realized it was 52" long. That is huge. Like cathedral ceilings huge. Like bigger than the table huge.


So I scaled back and went with the medium sized option. So, so happy with the choice! Isn't it awesome!


I'm loving it all right now, it feels like a defined space, but still looks cohesive with the living room. 


I'm also okay with the ultimate choice to leave the light centered where it was. The amazing Craigslist marble sideboard find made shifting the room a little to the right a no brainer. 


And what post would be complete with out a photo bomb from a corg? 

Happy 2015!
Betsy

Tuesday, December 9, 2014

Cleaning up the deck

The porch corner is up! The contractor dude came out, car jacked the corner up, dug some holes, poured new footings and set er' back down. So. much. better.


I mean seriously every time we had a bad storm I was afraid the porch was going to rip away from the house or sink into the ground! Now everything is nice and sound.


Getting this done of course prompted me into a whirlwind of porch remodeling!


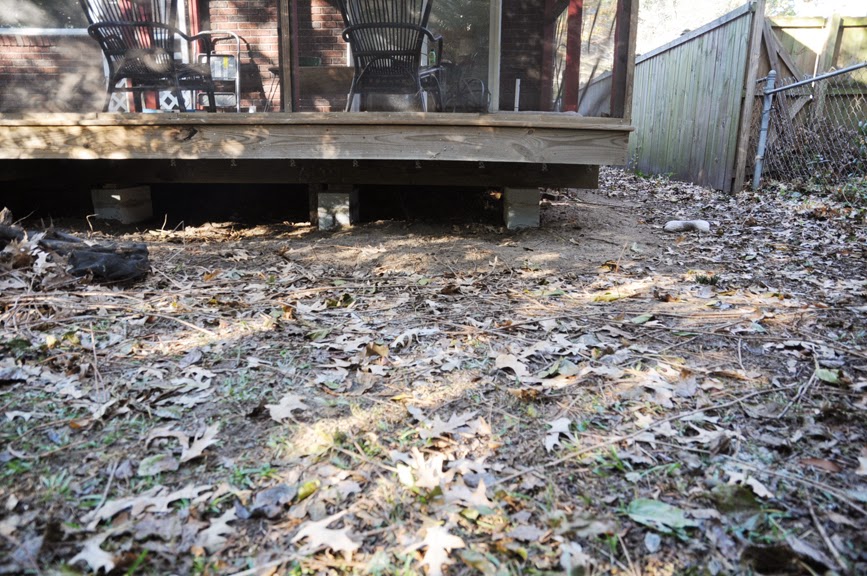
I ripped the old sagging screening off (in the rain, because I'm a weirdo and get bored?) and scrubbed the deck and porch boards.


This product works really nicely, but I did have to clean a second time using a deck cleaning brush and some serious elbow grease.


This was after the first pass of just washing, no scrubbing. I wish I had a total before picture because even this was an improvement. 


And a few days later  is after another rain storm and the second round of cleaning, but it is way better. Looks even nicer when it dries out. The boards that where mildewy and black on the right, now look almost brand new!


So after all that I was left with a deck/porch that the corgis love, but I've still got big dreams for. See those RED vertical porch beams. Going Going Gone!


Porch furniture had to briefly go back out for Thanksgiving, but I'm glad all the prep work is done so I can get on with the fun stuff.

Get excited!
Betsy


Tuesday, December 2, 2014

Terrarium

This has been on my to do list for a while now and I'm so happy with the results.


First let me say that I am not and will never be a huge fan of faux flowers/plants. But I've got to admit I'm really good at killing real plants and Hobby Lobby has some really great options. {They're faux ranunculus are pretty darn fantastic}


So with the empty Ikea terrarium I purchased over a year ago I decided to give faux terrarium making a go.  Its the white square looking thing in the far right corner. {Bear!}


First I did a massive Hobby Lobby run to gather all my supplies. Michaels has some faux florals, but  they are not up to par.


Not so bad looking, eh?


So for my first attempt I just threw the rocks in. I really like the look of layered ground cover and I though the rocks and moss would be enough.


They weren't. I place a few plants in there and it just looked dumb.


So out to the garage I went and dumped some potting soil in.


Add the river rocks on top and things are already muuuuch better.


Then I just started placing plants.


The soil and rocks did a perfect job of holding the succlents where I wanted.


I got everything all layered up and added my moss. So happy!


Even better was that I ended up only using 1/3 of what I bought. This wasn't the cheapest terrarium to make and probably would cost about the price a live one. However, I won't be replacing plants in this puppy!


I mean really! It looks so good. I don't think you would know they were faux unless I told you, or you happen to read this blog.


So back up on the shelf they went. I've got to learn to photograph in the den a little better. The glare is ridiculous!

See ya'll soon!
Betsy

Tuesday, November 18, 2014

Bears and Adventures in Lucite Framing


I am so so so excited to share this piece of art. I've been wishin' and hoping for it for some time. The Animal Print Shop is basically the jam. The are all over Pinterest all be it mostly in the form of nursery art.

MLW and I have no babies, but we do have a pretty long running joke about bears. Basically I have an irrational fear of bears {Did you see Grizzly Man!?!}, also my spirit animal is a bear. Ironic right? We have a blank wall in the den above the TV = Perfect spot for a print of a bear!


The second part of this story is my desire to frame it up in acrylic like The Hunted Interior. Her step by step made it seem pretty easy. Framing can be pretty darn expensive so I wanted to give this DIY version a go.


Step 1, Acquire acrylic sheets from Lowe's. Lowe's will cut the sheets to whatever size you want fo free. Home Depot will not. I had mine trimmed to 24 x 30. My art is 16x 20.  I think the sheets where about $16 each.


Step 2, Order mounting hardware from this etsy shop. There is other hardware out there for cheaper but it is all stainless and I wanted brass. By this point ya'll should know how I feel about brass. Once you recive hardware, mark acrylic for holes.

Step 3, Animal Print Shop sends their prints with plenty of white space and I need this trimmed down. I was afraid to cut with scissors because I can not cut in a straight line to save my life. I also didn't want to buy a large format paper cutter because those babies are expensive. So I called a few stores to see if they offered paper cutting services. Here is what I learned, Michael's will not cut art at all. How they trim down things for framing I do not know. Office Depot has a large paper cutter you can use fo free or they will cut it for you for like $2. I did it myself but the man working was nice enough to help me. His wife's spirt animal is also a bear.


Step 4, Obtain a nail large enough to make a hole for the bolt to connect the frame to the wall. This turned out to be as little tricky. Only because the good folks at Lowe's couldn't figure out how much one large nail costs. 72¢.


Step 5, Wake up early on your day off and try to heat up said nail over a candle. Unlike other blogs who have attempted this, we don't have a gas range. So my heat sources where limited. After about 5 mins of roasting my nail over my measly candle, I realized that this would not work. {MLW proceeded to laugh at me all day for attempting this. And yes, I realize it is pretty silly, but I had to give it a whirl!}

Step 6, The Hunted Interior mentioned that a drill could also be used to create the necessary hole. Cool, I have a drill! So I attach my largest drill bit a 1/4" and drill away. Poof hole! Then I try to insert the bolt. Hole too small.

Step 7, I call my Dad to see if he has a drill bit large enough. Drive over to Dad's with acrylic sheets in tow.  He ended up having a bit of the right size but I completely cracked one of the sheets in the process. Major bummer.


Step 8, I mention that heating up a nail idea and out pops a propane torch. We heat up a screw safely attached to a pair of pliers so we don't burn our hands. It goes through and is the right size!!


Step 9, Dad sends me home with all the necessary tools and I hit up Lowe's to get a new sheet of acrylic.

*By this point I have been trying to hang up this blasted thing for about 5 hours.* 

Step 10, MLW and I proceed to torch a nail and make 8 holes in the acrylic.


Step 11, I used these awesome sticky strips for scrapbooking to attach the print to the acrylic.


Step 12, Then attach mounting hardware to wall as the instructions describe.

Step 13, Put the bolts through the holes and screw into mounted hardware.


Step 14, Step back and realize you spent an ENTIRE day hanging one photo.


But I really do love it, like big love. Also the bear needs a name. Huge kudos to the Animal Print Shop for the image and The Hunted Interior for the idea. I would also like to thank my hubs for buying the print for my birthday and to my Dad for supplying me with power tools and not laughing at my crazy ideas.

I need a beer.
Love,
Betsy


Tuesday, November 11, 2014

Lamps

I seem to like lamps in the month of November. Must be because it starts to get dark so early. I hate the dark. It just makes me sad.


I had one pretty epic night of moving lamps all over the house, but in the end I'm pretty pleased where everything ended up. This Target light is the bomb.com. It was a pain to track down, but I'm so glad I did. Darn you Emily Henderson for planting the bug that made me want it so bad. {but really Thank you, I love it so!}


Ya'll really haven't been back in the dining room in a while, but here is my epic craigslist find. This table made me totally re- visualize the dining room. I'm liking this lamp here for now, but this is the only one I'm not 100% sold on. Also there is no plug on the wall I need so I will be converting whatever lamp ends up staying here to a battery pack. I'm just going to sit on this one for a while until it feels really really right.


Turtle! I had this lamp in the dining room, but it felt to large for the space. Move it into Guest room 2 and I'm feelin' it.


This lamp is incredibly hard to photograph because of the gold shade. It looks really nice in person, but in photos it is baddd. 


Other nightstand. I'm still loving this ikea hack I did last winter! The fate of the black lampshade is still to be determined. I also just realized all of these lamps are from Target. What can I say, they make a good lamp!


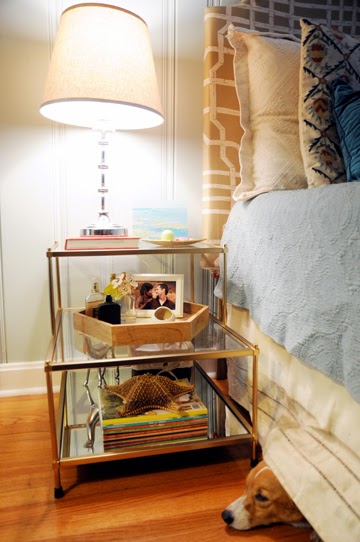
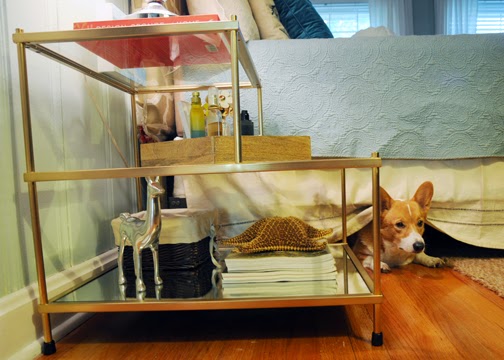
Okay here is where things get really good. New nightstand!!! I sold the small rust one and moved the wood one to the other side of the bed. I love this West Elm creation. Thanks Mom! 


I. Love. It.


Oh Hey Mabs!

She loves the new nightstand too! 

Love,
Betsy